
Last updated October 16, 2026
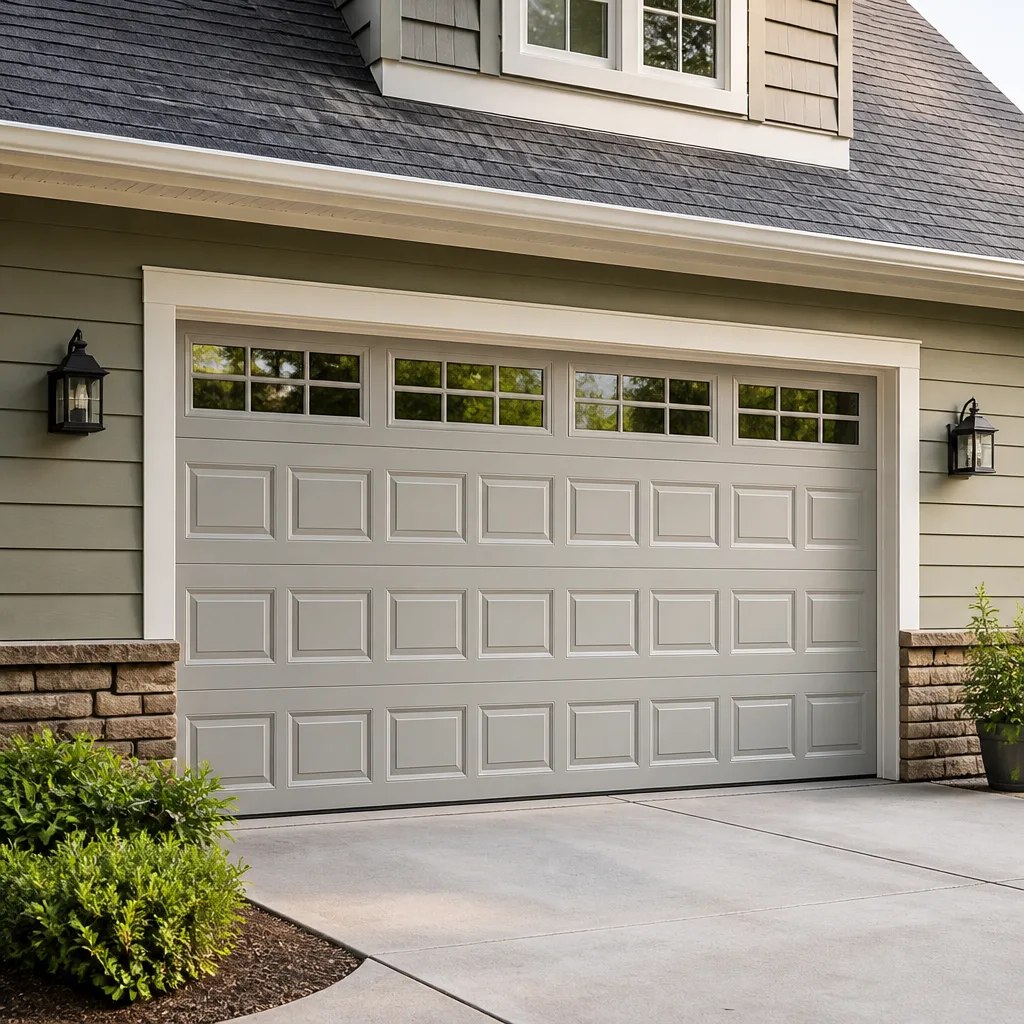 Raised-panel steel
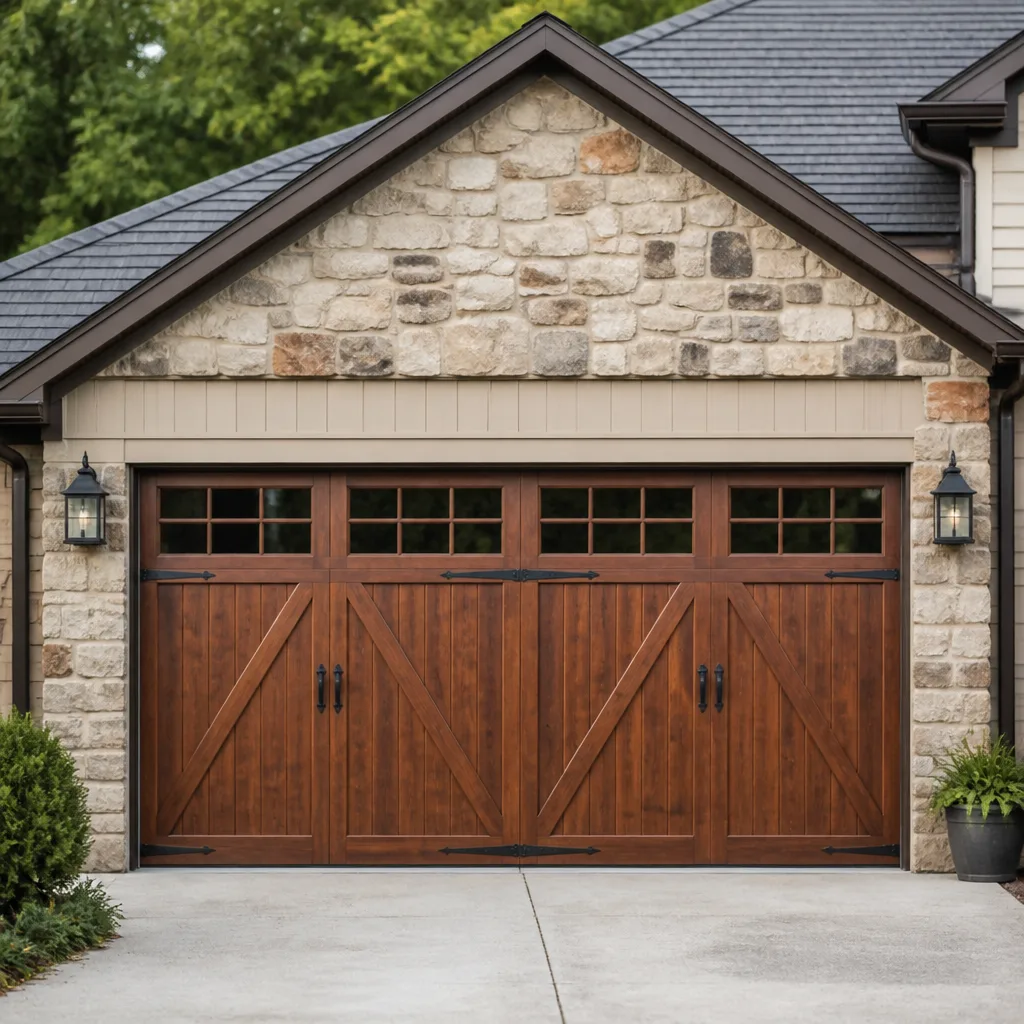 Carriage house
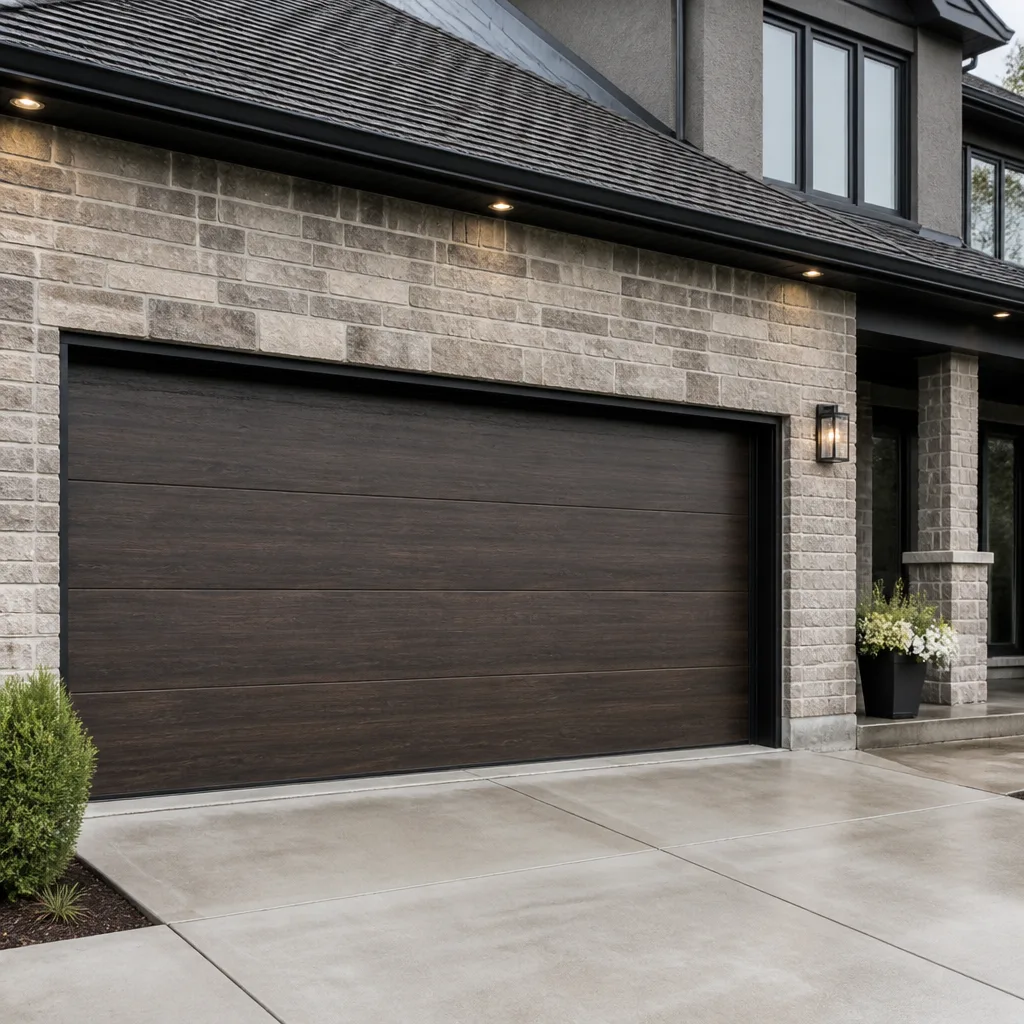 Modern flush
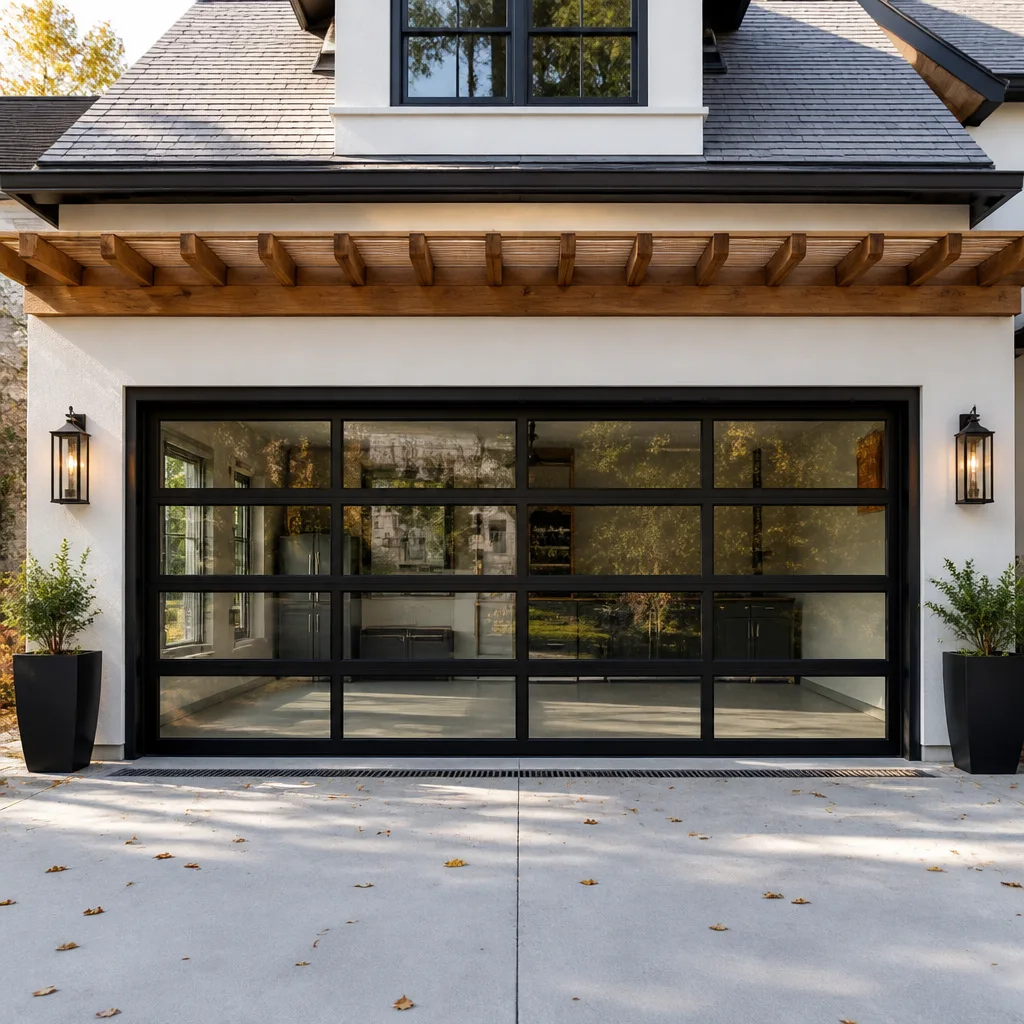 Full-view glass
 LiftMaster openers
 Chamberlain openers
Full 25-point door and opener safety check with every visit - springs, cables, rollers, tracks, and your LiftMaster or Chamberlain opener included
You get a price before we start. It does not change when the truck arrives.
Get your free estimateGarage Door Repair Maintenance Checklist for Dallas Homeowners
Most homeowners assume their garage door failed because of a spring. In Dallas, we see a different pattern. A loose limit switch, the small mechanism that tells your opener where to stop, is the leading cause of doors that refuse to close all the way here. It’s a five-minute adjustment, but it’s almost never on any maintenance checklist you’ll find online. This guide is built differently. You’ll learn what actually fails on Dallas garage doors, what to check each season, which tasks are safe for you, and which ones carry real injury risk that belongs in a technician’s hands.
Quick Answer
The essential garage door maintenance checklist for Dallas homeowners is a seasonal routine: inspect springs and cables for rust every spring, test safety auto-reverse monthly, clean and inspect rollers every six months, check bottom seal integrity after each summer, and have a professional tune-up every 12 to 18 months. Most tasks take under 20 minutes. The spring and cable work should always be left to a trained technician offering Garage Door Repair services, because those components are under enough tension to cause serious injury.
Styles & brands we work with
Table of Contents
- Monthly Safety and Function Checklist
- Dallas Climate Cycles and What They Do to Your Door
- Which Tasks Are Safe for Homeowners and Which Are Not
- Real Tolerances: What Good Looks Like, What Failure Looks Like
- How to Document Maintenance for Warranty and Insurance Claims
- Common Mistakes to Avoid
- When to Call a Professional
- Frequently Asked Questions
Monthly Safety and Function Checklist
This is the routine we recommend every Dallas homeowner run once a month. It takes less than twenty minutes and catches the majority of failures before they become expensive repairs. Work top to bottom, test, then document. If a door fails any test here, that’s your signal to address it the same week rather than waiting for it to strand your car inside the garage.
Step-by-step monthly inspection
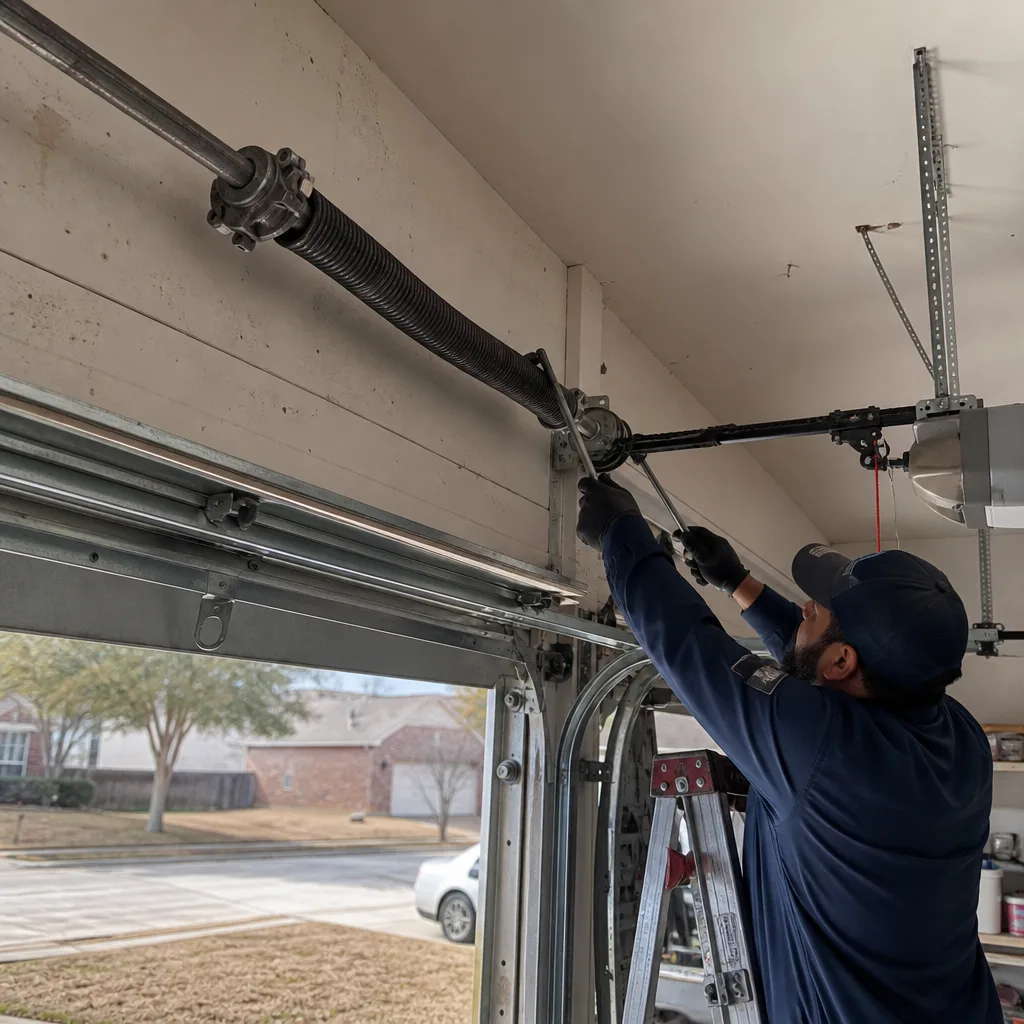
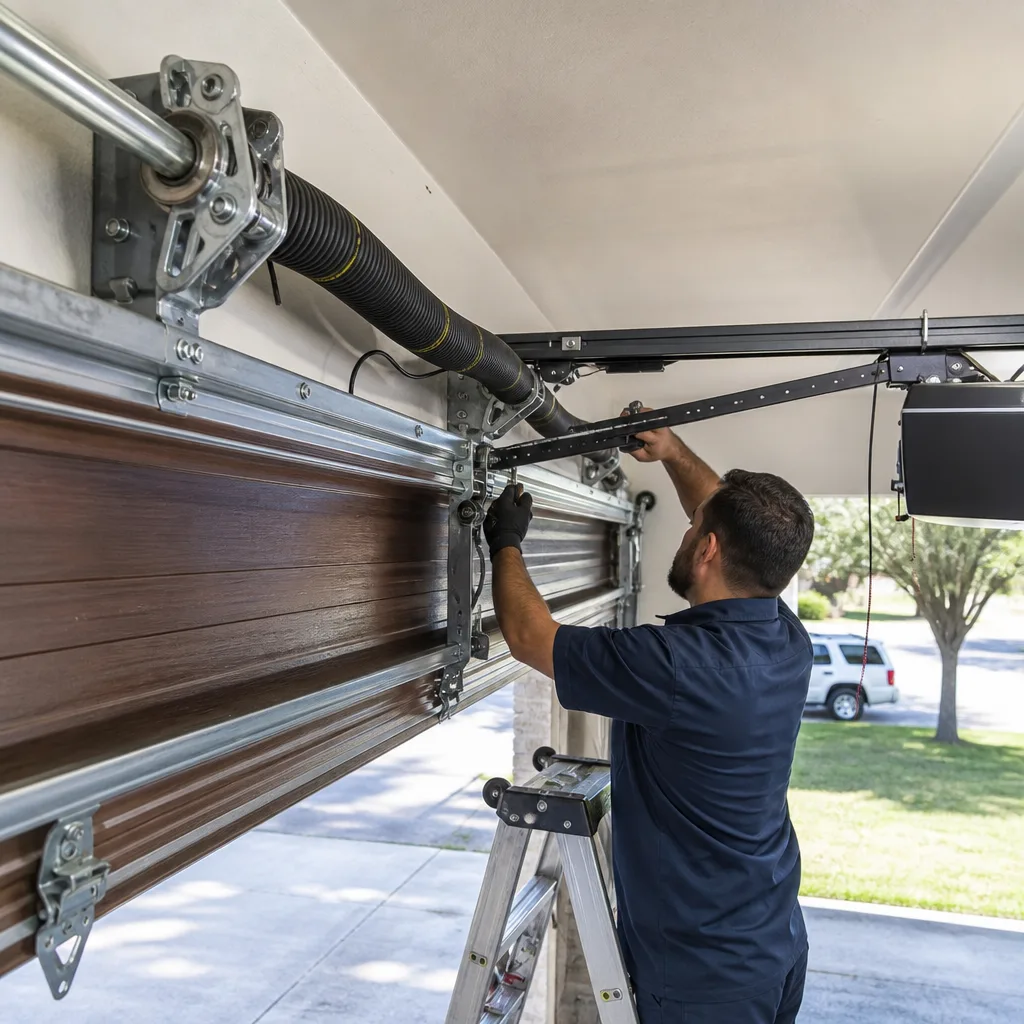
- Visual spring check. Stand inside the garage with the door closed. Look at the torsion spring, which is the thick coiled spring mounted on a metal bar above the door. You’re looking for rust pitting, gaps between coils, or a separation in the spring itself. A separated spring means the door’s lifting force is no longer balanced, and the remaining components are now shouldering loads they were not designed to carry.
- Lift test. Pull the red emergency release cord to disconnect the opener. Lift the door by hand to waist height. A properly balanced door stays in place. If it drops, the springs are losing tension. If it shoots upward, the springs are over-tensioned. Either condition needs correction by someone who works with spring winding bars daily.
- Safety reverse test. Reconnect the opener. Place a two-by-four or a rolled-up towel flat on the floor where the door meets the ground. Close the door using the wall button or remote. The door should contact the object and reverse within two seconds. This is a federally mandated safety feature. If the door crushes the object and keeps pressing, the opener’s force setting is too high and needs adjustment immediately.
- Photo-eye test. Wave your hand across the photo-eye beam while the door is closing. The door should stop and reverse before touching your hand. If it doesn’t, the eyes may be misaligned, dirty, or the wiring may have a short. This is a common failure on Dallas doors because garage heat expansion nudges mounting brackets out of alignment over time.
- Balance spot-check. With the door fully open, look at the horizontal track where it curves and runs back into the garage. The rollers should sit centered in the track. A door that sits hard left or right against the track edge is telling you the torsion system is losing symmetry.
- Noise scan. Run the door through a full open and close cycle while you stand inside. You’re listening for grinding, squeaking, or thumping. Grinding often means a roller bearing has failed. A thump at a specific point in the travel curve can indicate a bent track section. Squeaking on a chain-driven opener usually means the chain needs tensioning.
If everything passes, log it. If one item fails, move to the “Document” step below and schedule the fix. On doors over ten years old, we’d suggest running this monthly without exception because the margin for catching something early shrinks as components age.
Dallas Climate Cycles and What They Do to Your Door
Dallas is hard on garage doors. The combination of intense summer heat, spring thunderstorms with hail, and winter cold snaps that drop below freezing creates a weathering cycle that most national checklists ignore entirely. A garage door in Dallas is not aging at the same rate as the same door in Seattle or Minneapolis. Here’s what to watch each season.
March: Before spring storm season
North Texas storms bring wind-driven rain and hail that punishes every exposed surface on your door. Before storm season kicks in properly, check the bottom seal, which is the rubber strip running along the lower edge of the door. Look for cracking, flattening, or gaps where the seal has pulled away from the aluminum retainer. A compressed bottom seal lets water drive under the door during heavy rain and also lets conditioned air escape every day. Most Dallas homeowners can replace this seal themselves with a replacement available at any local hardware store for around $25 to $45, depending on door width. While you’re down there, check the weatherstripping on the sides and top of the door for tears. Hail damage to panels should be documented with photos for insurance purposes.
Spring is also the right time to lubricate, but not with just anything. Use a white lithium grease or a silicone-based garage door lubricant on the rollers’ bearings, hinges, and the torsion spring. WD-40 is not a lubricant. It’s a solvent and water displacer, and it will strip the lubrication off your door’s moving parts and accelerate wear. Apply lubricant sparingly, wipe off excess, and run the door once to distribute it.
August: Before extreme heat peaks
By August, Dallas temperatures routinely sit above 100 degrees. Heat does two specific things to your door. First, it degrades rubber components faster, so the bottom seal, weatherstripping, and roller tires all get a second look now. Second, it triggers expansion in metal tracks and mounting brackets, which is why photo-eye misalignment and track binding peak in late summer. Walk the track line and look for any point where the rollers rub hard against the track. You can also check the torsion spring for fresh rust pitting now, because heat accelerates the rust cycle that spring thunderstorms started in March.
Heat also puts stress on your opener’s motor and its logic board. If the opener is mounted in an uninsulated garage, the internal temperature can climb well past the motor’s rated operating range, which shortens the board’s life. That’s one reason we see a spike in garage door opener repair calls in Dallas every August and September. Move the car out first thing in the morning if the garage has been closed overnight with a hot engine in it. That’s free life extension for your opener.
November: Before cold snaps
North Texas cold snaps don’t last long, but they do drive one specific failure pattern: nylon roller fracture. Nylon rollers get brittle when temperatures drop into the 20s, and a brittle roller can crack under the door’s weight. During your November check, run the door and listen for a rhythmic clicking or thumping, which is a sign a roller is already compromised. If you have nylon rollers and they’re older than five years, consider upgrading to steel-bearing rollers or heavy-duty nylon with sealed bearings. This is not a DIY swap for most people because the bottom roller brackets on many doors are under cable tension. A technician can replace all rollers in under an hour.
Cold also changes spring behavior. Torsion springs lose a fraction of lifting force when cold, which means a door that was balanced in July may sag slightly in December. If your door holds at waist height in November but not in July, you may need a minor spring adjustment rather than a full replacement. And every garage door repair in Dallas should include a cold-weather recheck of balance.
Which Tasks Are Safe for Homeowners and Which Are Not
This is the section most maintenance checklists either skip or get dangerously wrong. There are two components on your garage door that are under enough stored energy to cause severe injury or death if they release unexpectedly: the torsion spring and the cable and drum assembly. Everything else is mostly straightforward homeowner territory.
Safe for most homeowners
- Cleaning and lubricating rollers, hinges, and springs with the correct lubricant
- Testing the safety auto-reverse and photo-eye functions monthly
- Replacing the bottom rubber seal
- Tightening visible bolts and nuts on the track brackets and hinges
- Cleaning the track with a rag (never use grease in the track)
- Adjusting the opener’s force settings using the manual, if the reverse test fails
- Checking door balance with the emergency release pulled
Never attempt without professional training
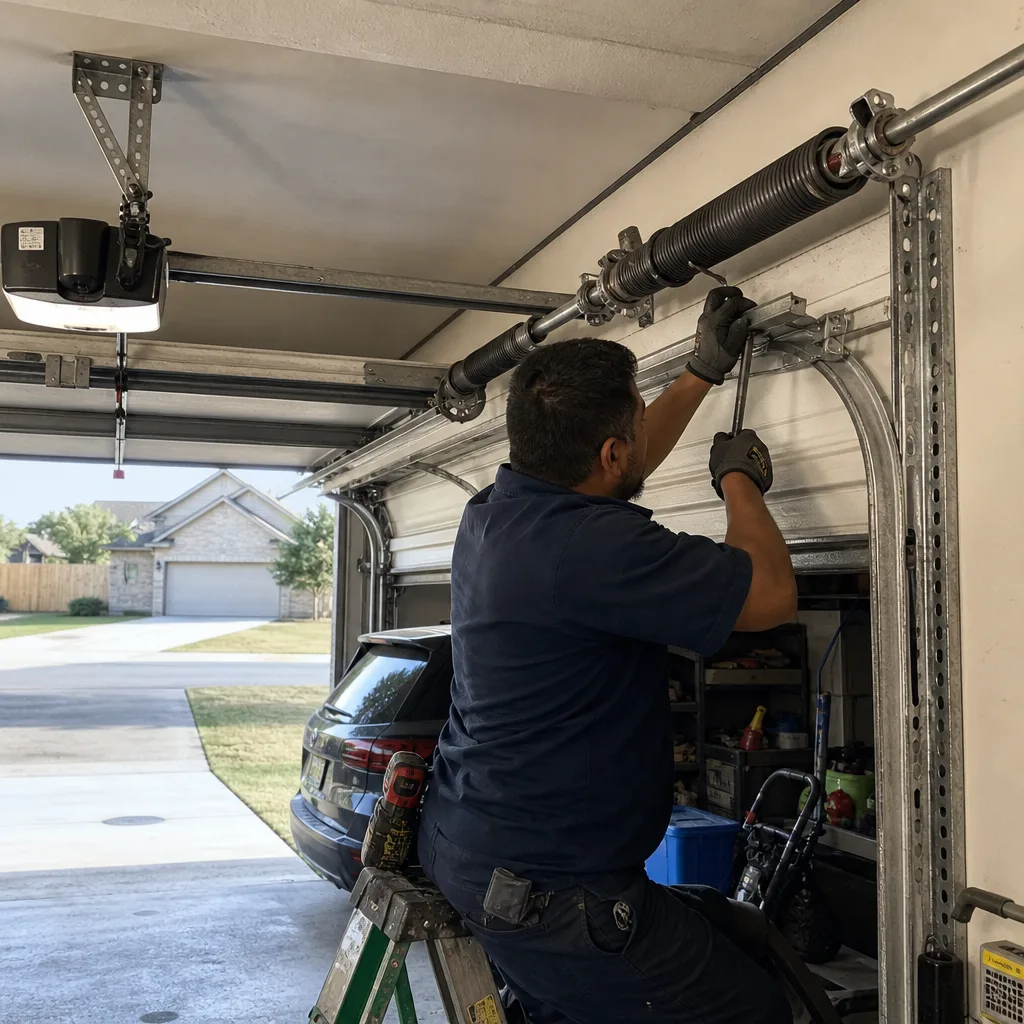
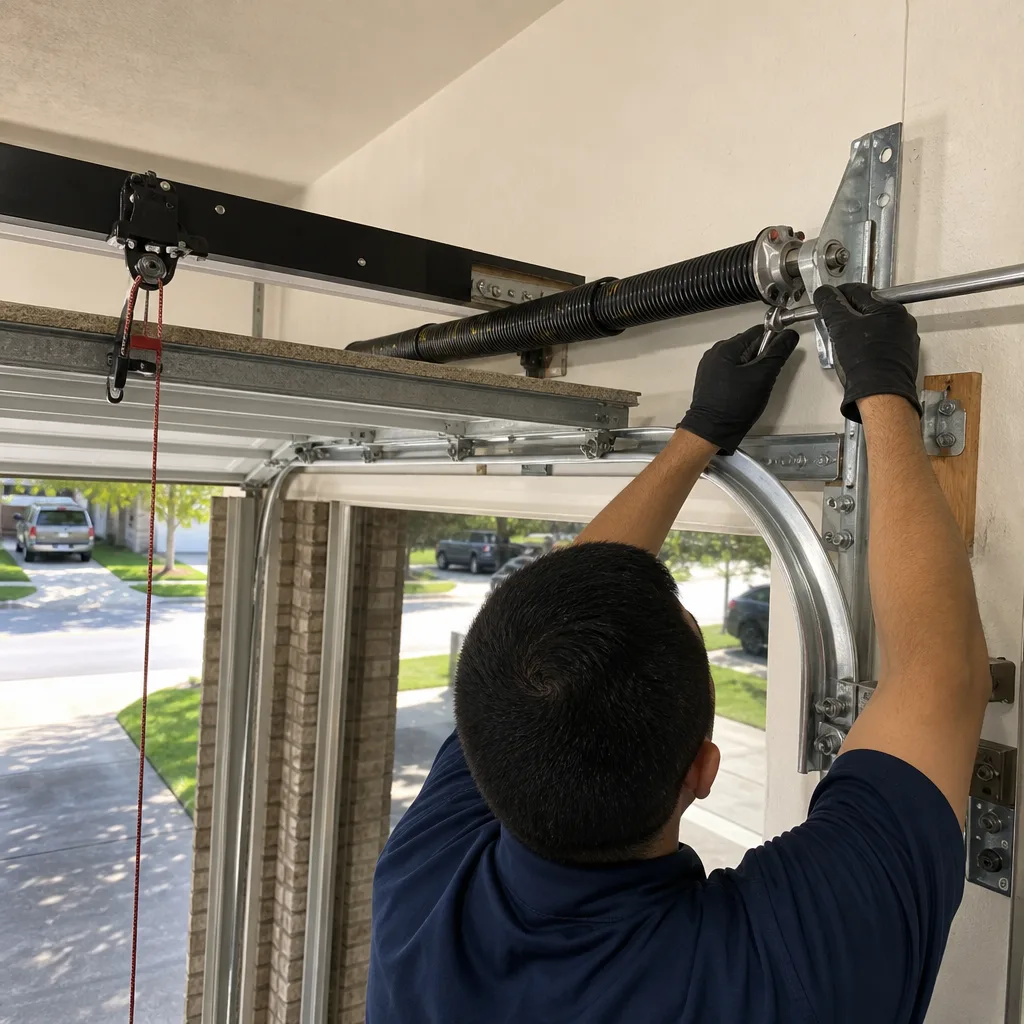
- Replacing or adjusting a torsion spring. These springs are wound under tension that can exceed the weight of a small car. If the winding bar slips, it can cause fatal injury. No maintenance checklist should tell you to touch this spring.
- Replacing or re-spooling cables. The cables run through a drum at each side and carry the same tension as the spring. When a cable snaps, it whips with enough force to break bone.
- Removing the bottom roller bracket. On most modern doors, the bottom bracket is under cable tension. Remove the wrong bolt and the bracket becomes a missile.
- Straightening a bent track with force. Bent tracks need replacement or careful realignment, not elbow grease.
If you are uncertain whether a task is safe, the answer is to call a professional. At Brock Garage Doors Dallas home, we tell homeowners the truth: a service call costs less than an emergency room visit, and we’ve never charged a homeowner for asking us to look at something before they touched it.
One more note on springs specifically. If you see a gap in your torsion spring, do not open the door manually, do not run the opener, and do not stand under the spring. That spring is holding stored energy and the failure mode is unpredictable. Call a professional. The same goes for any frayed or unraveling cable.
Real Tolerances: What Good Looks Like, What Failure Looks Like
A useful maintenance checklist has to tell you what passes and what fails, not just what to look at. Here are the specific go/no-go criteria we use on every door we service in Dallas.
Torsion spring
Pass: Spring retains its uniform coil spacing across the full width. Surface shows no pitting, deep rust, or visible corrosion. Door holds at waist height when disconnected from the opener.
Fail: Coil separation, a visible gap in the spring, rust pitting deep enough to catch a fingernail, or a door that drops more than six inches when released at waist height. Expect spring replacement in the $180 – $340 range for a standard two-spring door, depending on spring size and cycle life rating.
Rollers
Pass: Rollers spin freely with no visible wobble, flat spots, or cracked nylon. Side-to-side play in the track is under 1/8 inch.
Fail: Roller wobbles more than 1/8 inch, has a flat spot that thumps as it rounds the curve, or the bearing race is visibly gritty. Roller replacement runs $90 – $180 for a full set on most doors.
Cables
Pass: Cables are taut on both sides, wound evenly on the drums, free of frayed strands and rust.
Fail: Frayed strands visible anywhere along the cable run, uneven winding on the drum, or slack cable when the door is open. Cable repair typically runs $150 – $275, depending on cable type and drum condition. Garage door cable repair in Dallas should be done same day when a cable fails, because the door is now unbalanced and unsafe to operate.
Bottom seal
Pass: Seal is flexible, makes full contact along the entire width of the floor, and compresses slightly when the door is closed.
Fail: Visible cracks, flattening, gaps between seal and floor, or seal pulling out of its retainer channel. If you can see daylight under the door when it’s closed, the seal is done.
Track alignment
Pass: Track sections are straight, brackets are tight, and rollers ride centered in the track with no rubbing.
Fail: Gaps between track sections, visible bend, bracket screws loose or stripped, or the door shifting hard to one side during operation.
Opener force and limits
Pass: Door reverses within two seconds of contact with a two-by-four and photo-eye beam stops the door within one second of interruption.
Fail: Door keeps pressing after contact, reverses too early without contact, or the door stops short of the floor by half an inch or more. A limit switch adjustment is a five-minute opener-level fix, but force adjustment on a door that was balanced correctly and suddenly isn’t is usually a spring issue, not an opener issue.
How to Document Maintenance for Warranty and Insurance Claims
Most Dallas homeowners do maintenance. Almost none of them write it down. That’s a problem when a spring fails and the manufacturer asks for a maintenance history, or when a windstorm tears off a panel and your insurance adjuster asks what condition the door was in before the storm.
What to record
- Date and time of every inspection or service
- Items checked, using a simple pass/fail notation
- Any failures found and what action you took
- Photos of any visible damage, dated and saved to a cloud folder
- Service invoices from any professional work, including part numbers if listed
- Lubrication dates and the product used
Why it matters
Warranty claims on springs, openers, and even some door panels often require evidence of “reasonable maintenance.” Without a log, the manufacturer can deny the claim and you’re left arguing from memory. For insurance claims after a storm, adjusters look for signs of pre-existing damage. Dated photos showing a clean, undamaged door six weeks before a hailstorm hit is the single best evidence you can provide.
We’ve seen this play out both ways. Homeowners who kept a simple notebook or a folder on their phone got claims approved without friction. Homeowners who couldn’t show a single maintenance record got denied and had to pay out of pocket for damage that was covered. The log doesn’t need to be formal. A note in your phone after each monthly check is enough.
One more documentation point specific to Dallas: if your door sustains hail damage, take photos immediately, from multiple angles, before you clean or repair anything. That photo set is your insurance record. Then call a professional to assess the mechanical damage the hail may have caused that you can’t see from the face of the door.
Common Mistakes to Avoid
- Lubricating with the wrong product. WD-40 strips lubrication and accelerates wear. Use only white lithium grease or silicone garage door lubricant on rollers, hinges, and springs. This one mistake ages a door three years for every year of use.
- Ignoring a door that’s slightly unbalanced. A door that drops six inches when released is putting double the designed load on the opener and the cables. That six-inch drop becomes a failed opener gear and a snapped cable within a few months.
- Disconnecting the opener with the door open. The emergency release should only be pulled when the door is fully closed. Pull it while the door is open and a failed spring can send the door crashing to the floor.
- Adjusting force settings without diagnosing the underlying issue. If your door suddenly needs more force to close, the problem is usually a failing spring or binding rollers, not a setting that drifted. Cranking the force masks the symptom and creates a safety hazard.
- Replacing only one spring on a two-spring door. Springs wear as a pair. Replacing only the broken one leaves you with a mismatched system where the old spring is now doing a disproportionate share of the work and will fail sooner. A reputable technician replaces both.
- Neglecting the bottom seal. A torn or flattened bottom seal lets heat, humidity, dust, and pests into the garage. In Dallas, where summer energy costs already spike, a failing seal is a direct line item on your electric bill.
- Running the door after seeing a frayed cable. A frayed cable is a countdown to snap, and when it snaps, the door can jam violently and damage panels, track, and the opener. Stop using the door and call a technician the same day.
When to Call a Professional
Most monthly maintenance is within reach for a careful homeowner. But there are conditions that should never be diagnosed over a YouTube video. If your torsion spring shows a gap, deep rust pitting, or visible coil separation, stop using the door and call a professional that day. If a cable is frayed, unraveling, or slack, same rule. If your door has come off the track entirely, attempting to reseat it without knowing where the tension is can turn a $200 repair into a $1,200 replacement. If the door is shaking, shuddering, or making a noise you’ve never heard before, that’s a failure signal you don’t have the equipment to diagnose safely. For How to Hire a Garage Door Contractor in Dallas: A Step-by-Step Guide, consider Brock Garage Doors Dallas, which offers free estimates in Dallas, and a real person answers the phone 24 hours a day. Call (254) 269-5837.
We work on doors from Amarr, Wayne Dalton, Craftsman, and Raynor, along with all major opener brands, so the technician who arrives has already seen your door’s failure pattern before. The price is quoted in writing before any work begins, and that’s the price on the invoice. If the repair fails within 365 days, we return and make it right at no charge. That commitment is in writing, on every job.
Frequently Asked Questions
A professional tune-up in Dallas typically runs $75 – $150, depending on whether parts like rollers or a bottom seal need replacement during the visit. Most homeowners should budget for a tune-up every 12 to 18 months. Call (254) 269-5837 for an exact quote, and you’ll get a written price before any work starts.
Lubricate twice a year, once in March before storm season and once in September as summer heat breaks. Use a white lithium grease or silicone lubricant on rollers, hinges, and the torsion spring. This frequency matches Dallas climate cycles, where heat dries out lubricant faster than in cooler climates.
No. Torsion springs are wound under enough tension to cause fatal injury if they release while you’re working on them. This is not a skill issue and not a money issue. It’s a safety issue. Professional spring replacement in Dallas costs $180 – $340 for a standard two-spring door, and it’s done by a technician who has the correct winding bars and training.
Heat causes the metal track to expand, which can push the photo-eye sensors out of alignment or make the door bind slightly in the track. The opener reads that resistance as an obstruction and reverses. Check the photo-eye alignment and look for any point where the door rubs against the track. If those look fine, a technician should check the force settings and spring balance.
Standard torsion springs are rated for roughly 10,000 cycles, which works out to 7 – 10 years in a typical Dallas home where the door opens and closes two to four times daily. If your door gets heavy use, springs may need replacement sooner. Upgraded high-cycle springs rated at 25,000 – 30,000 cycles typically cost 30% – 50% more but last two to three times as long.
Before storm season, check the bottom seal for cracks or gaps, verify the door’s manual lock engages, confirm the safety reverse works, and photograph your door from multiple angles so you have a pre-storm condition record for insurance. If your door is dented or damaged from the last storm, repair it before the next one arrives.
The Bottom Line
Garage door maintenance in Dallas is not complicated, but it is specific. You check the spring for rust and separation, test the safety reverse monthly, watch the bottom seal after every summer, and document what you find. You leave the spring, the cables, and anything under tension alone. Most failures we see in Dallas are not sudden and unpredictable. They’re slow declines that a homeowner could have caught in a ten-minute monthly check. Run this checklist consistently, keep a simple log, and explore more guides & resources when you need deeper guidance, or call a professional when you find something outside the pass criteria. The goal is not to turn you into a technician. It’s to make sure you never pay for a failure that a checklist could have prevented.
Written by Wade Mercer, Owner at Brock Garage Doors Dallas, serving Dallas since 2001.
See the difference
 Before
 After
After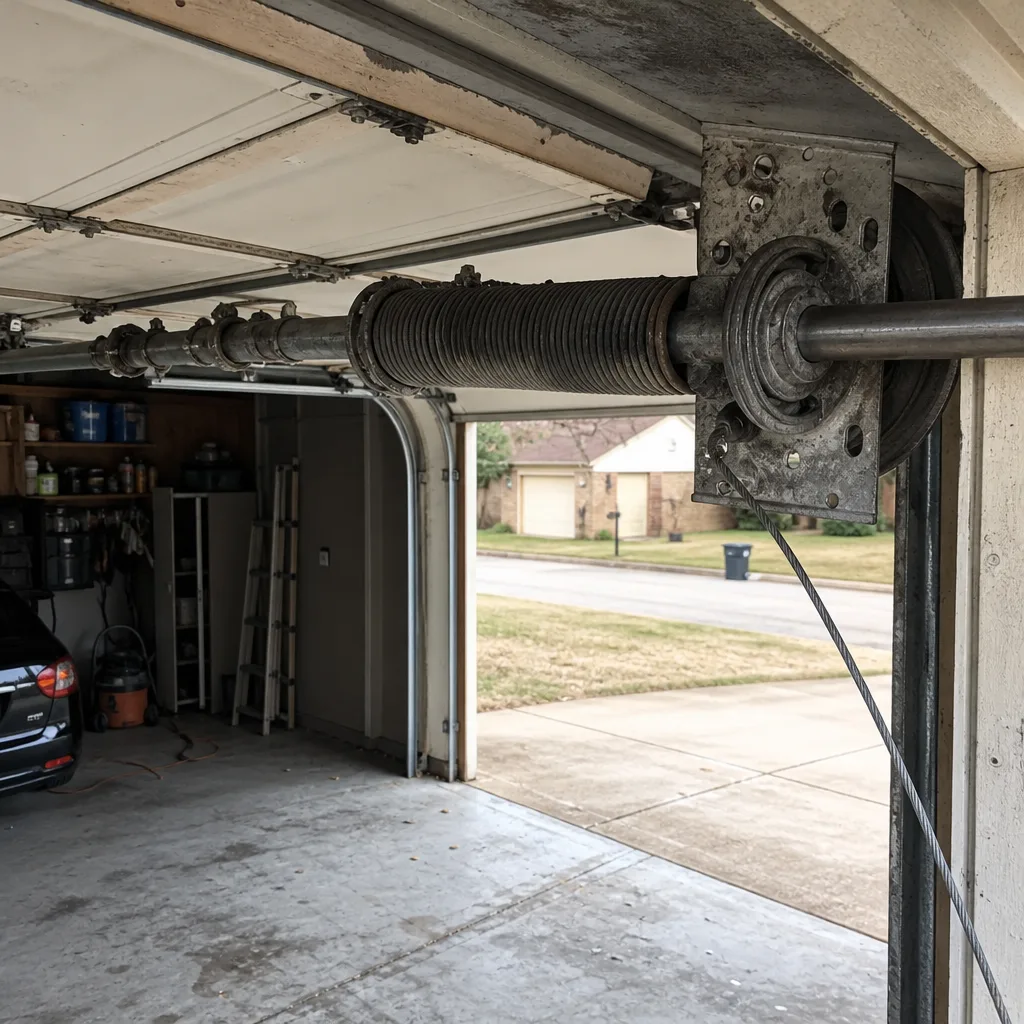 Before
 After
After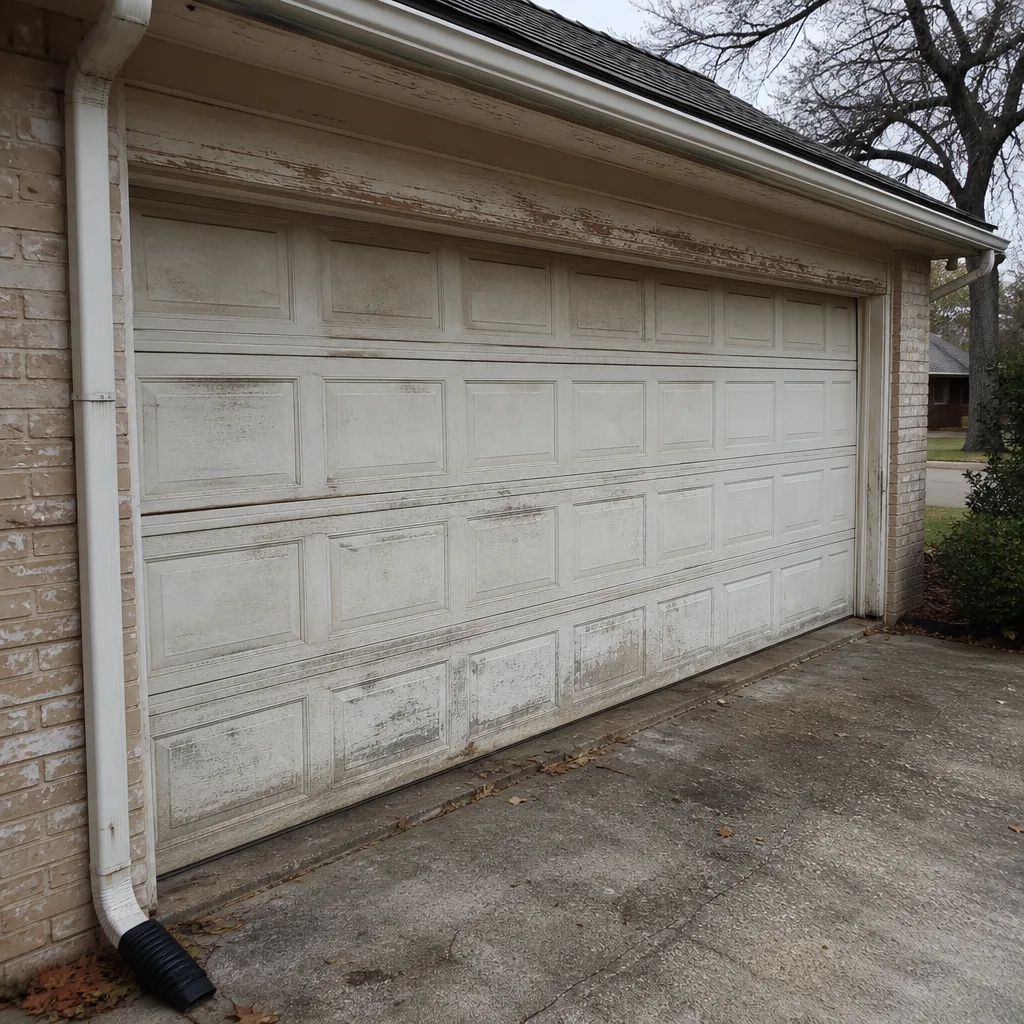 Before
 After
After